Different Types of Roof Flashing
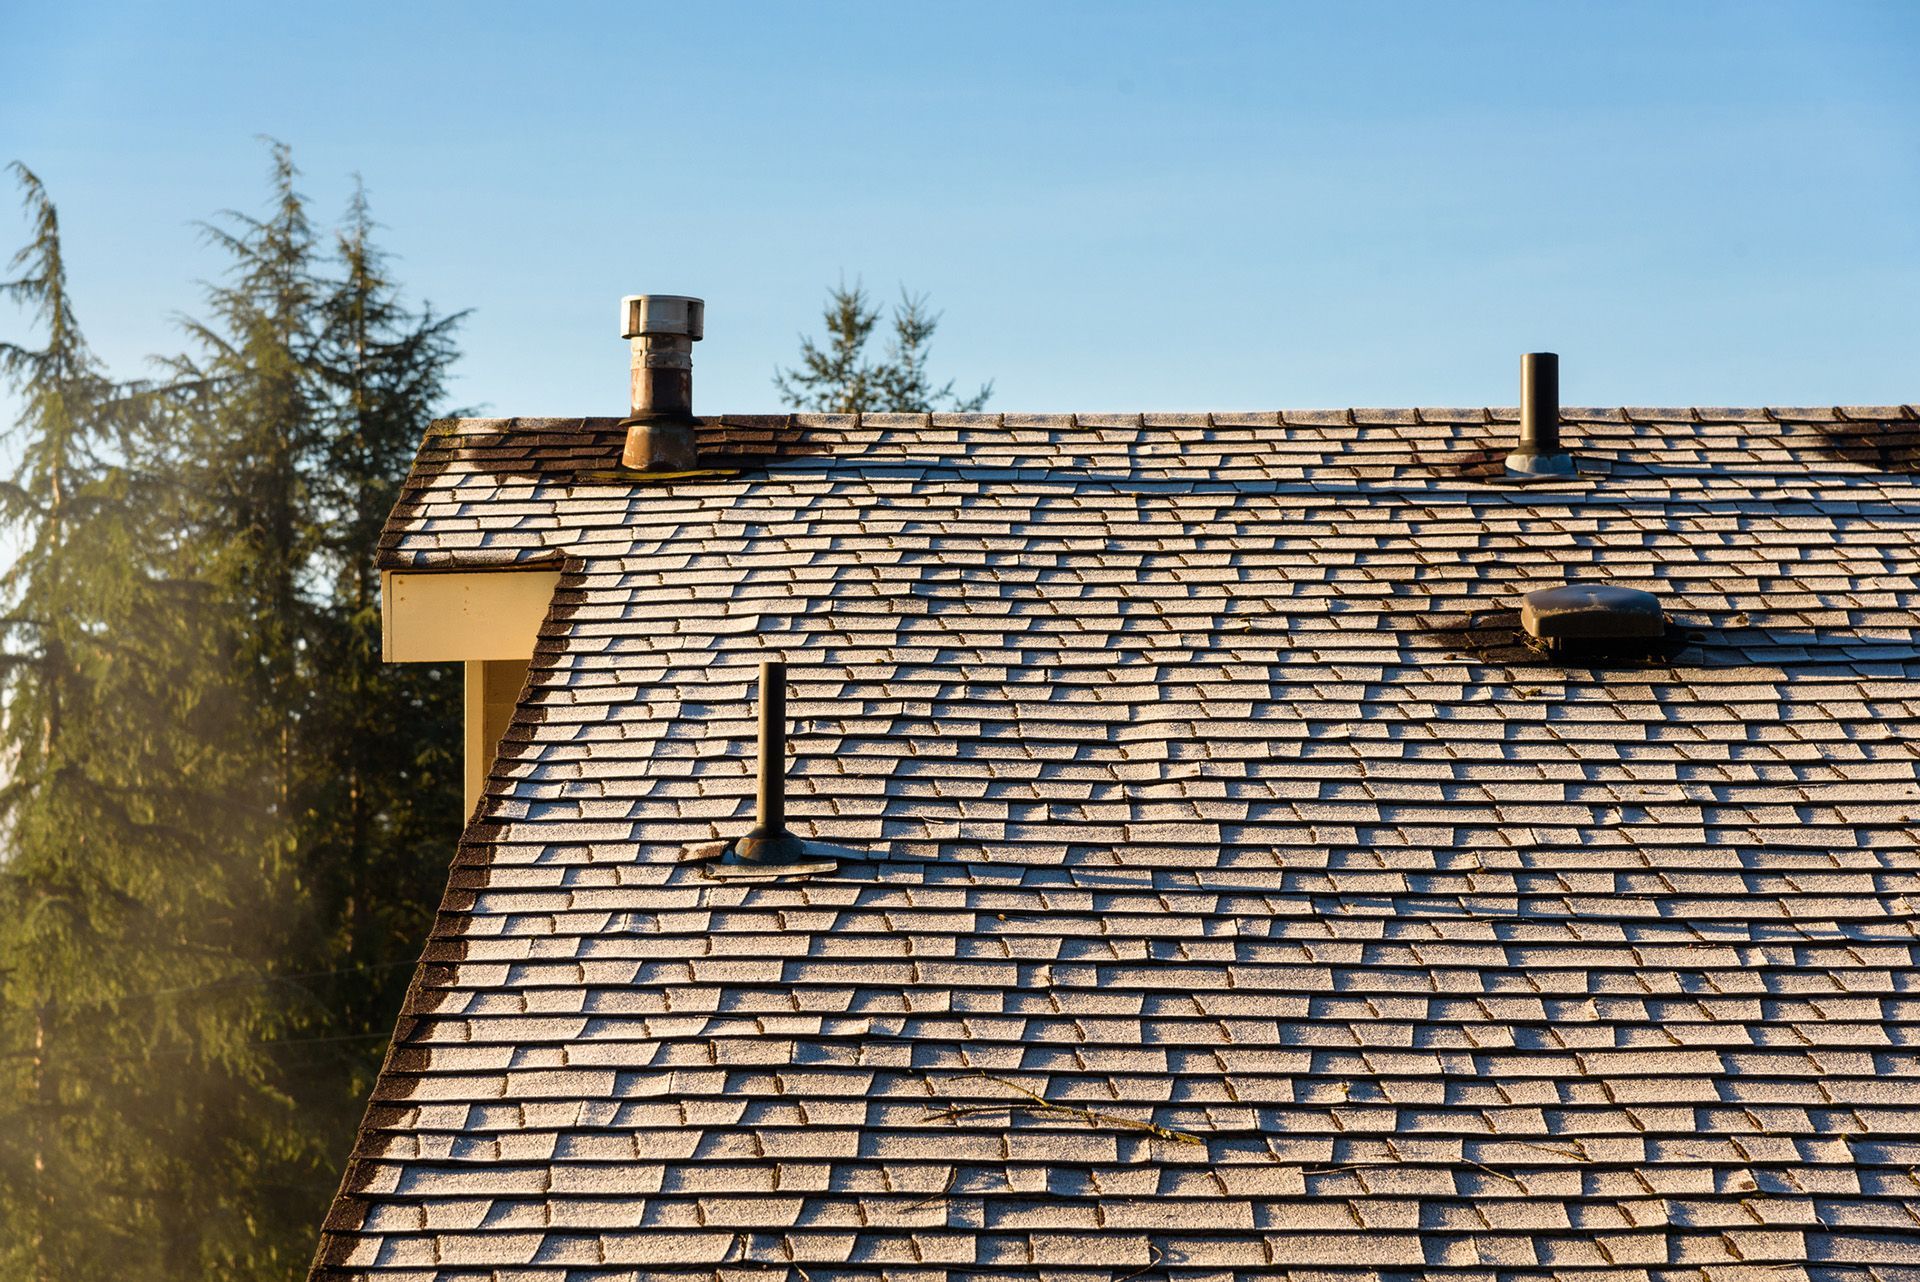
Roof flashing is a thin material, usually galvanized steel, that professional roofers use to direct water away from critical areas of the roof. Use roof flashing wherever the roof plane meets a vertical surface like a wall or a dormer. Additionally, install flashing to surround roof features, such as vents, chimneys, and skylights. Furthermore, water should run down the side of the flashing and be directed to the shingles instead of finding its way into the roof deck.
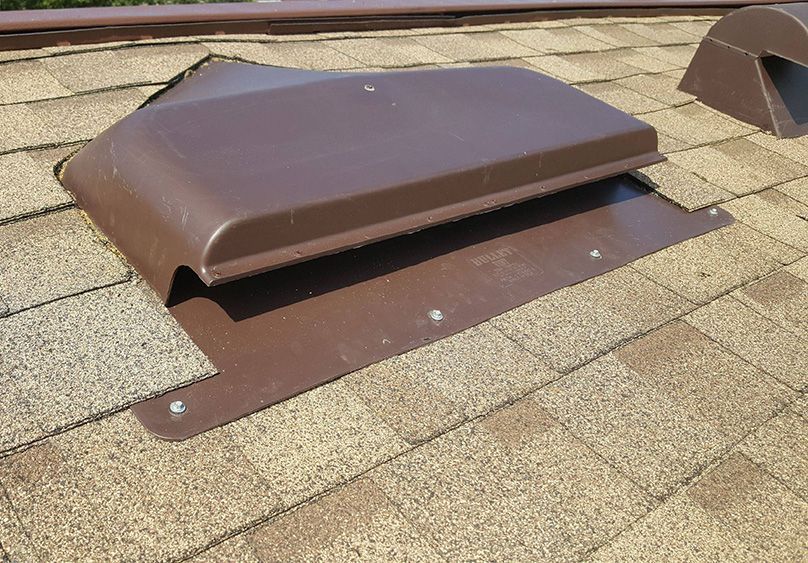
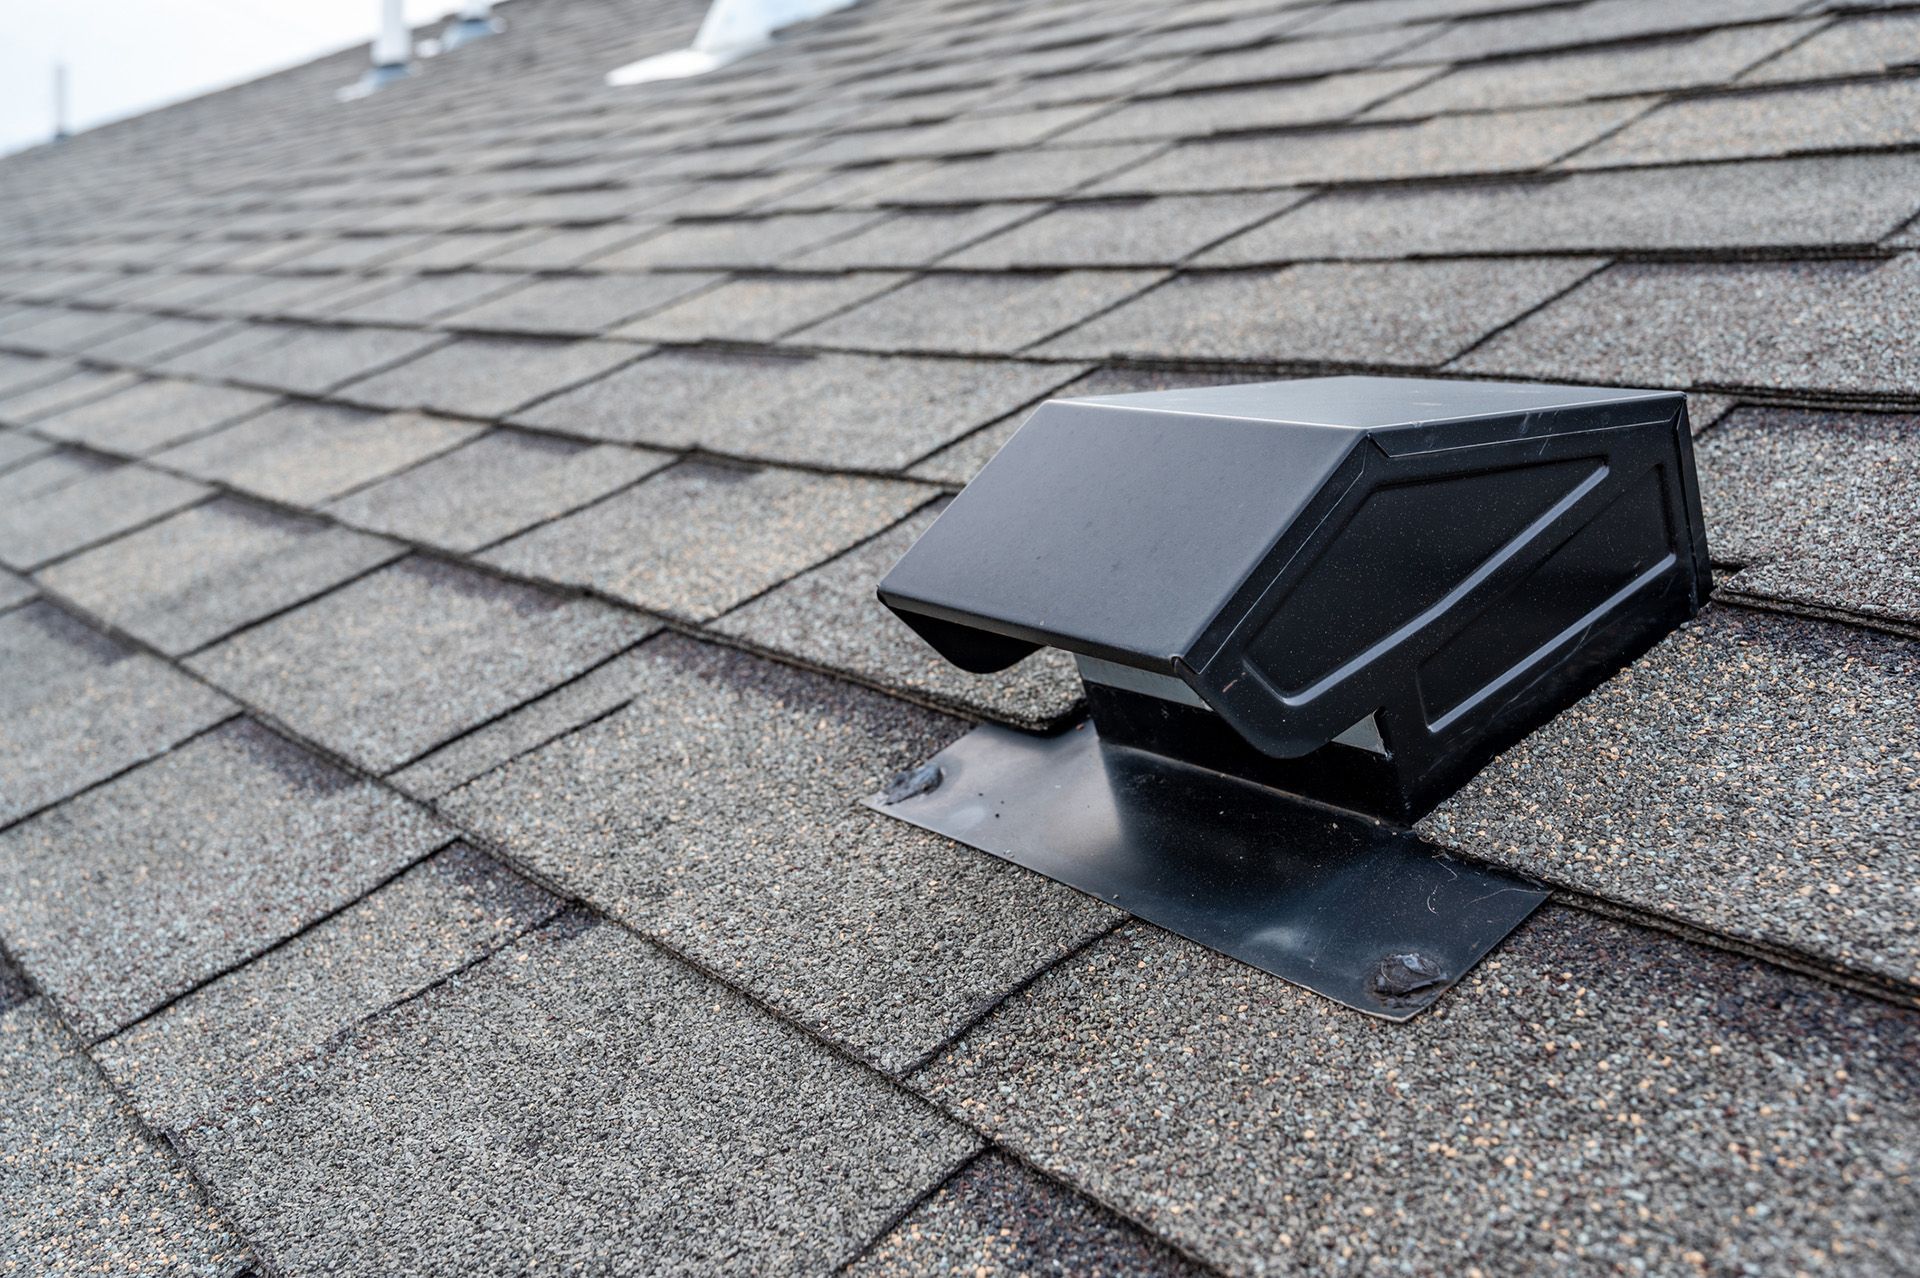
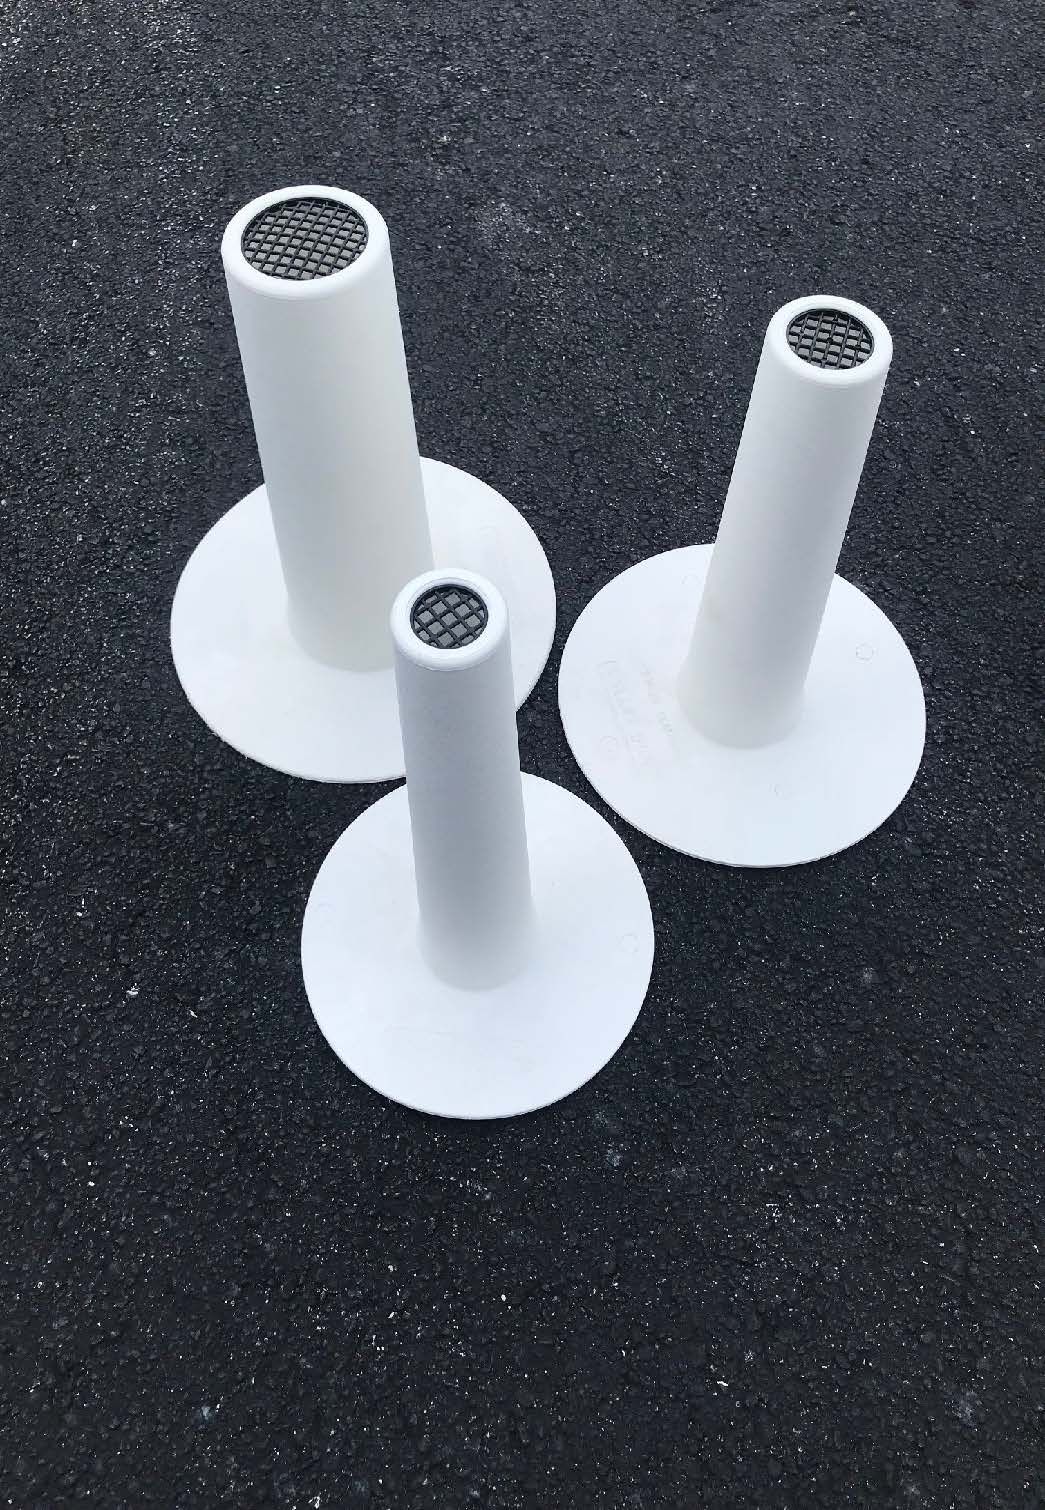
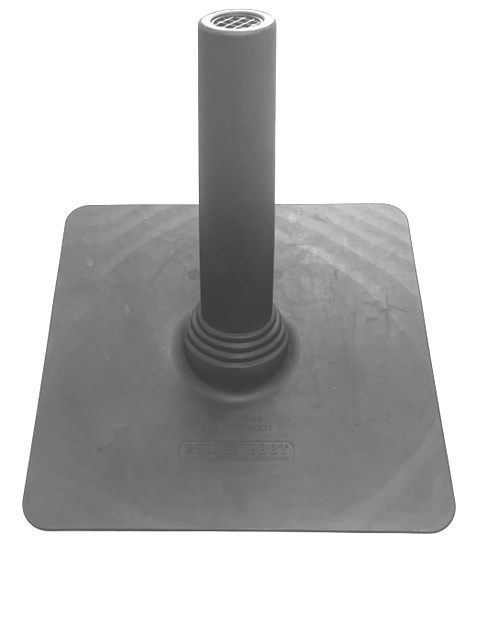
Bullet Products would like to make you aware of the different types of flashing used. Additionally, we manufacture a new type of vent pipe flashing and roof vents. See how our roof vents and pipe flashing are changing the roofing world. Bullet Boots pipe flashing is a one-piece flexible rubber TPE and TPO boot and plumbing pipe sleeve used as a terminal vent pipe roof flashing. Bullet Vents are made from a heavy duty polypropylene carbonate material. Each roofing vent has a built-in cricket for free-flowing water.
Common Types of Flashing:
Continuous flashing: Also known as “apron flashing”. Installing one long piece of continuous flashing provides protection to the joint between a vertical wall and a sloped roof.
Drip edges: Often installed under the roofing felt along the eaves of a roof. This helps water drip off the roof without damaging the home.
Step flashing: Step flashing is a rectangular piece of flashing bent 90 degrees in the center. Use it for roof to wall flashing. Overlap these flashings to prevent water from getting behind.
Valley flashing: A W-shaped piece of metal flashing. Place this on top of the roofing felt in the areas where two valleys of a roof plane join.
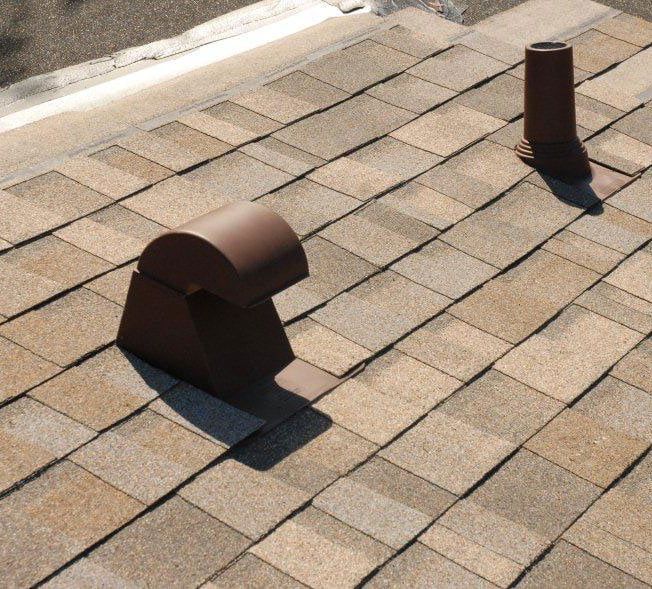
Vent pipe flashing: A cone-shaped fitting. Install pipe flashing into the shingles to cover pipes.
Additional Flashings
Base flashing: Some roof features, such as chimneys, require different pieces of flashing. This ensures that rain always meets a flashing surface that directs it downwards. The base flashing is continuous flashing (or apron flashing). Use this as the bottom piece.
Counter-flashing: Placed opposite to base flashing, or above base flashing, counter-flashing completes the two-part team.
Cap flashing: An L shaped structure that lies flat against the roof and other fittings such as windows. The shape of the structure runs water off in the opposite direction. This prevents it from pooling in any cracks around the fitting.
Chimney flashing: Flashings need to be applied around chimneys. This prevents water pooling in the gaps between the roof and the chimney bricks. To begin, apply chimney flashing in two pieces (base and cap). Next, place base flashing across the bottom of the chimney, while using step flashing to cover the sides. Finally, caulk the cap flashing where it laps over the other flashings to prevent water running behind them.
Saddle flashing: Used to cover protruding beams or railing attachments.
Skylights: Often skylights have a built-in flashing to protect water from seeping in, but sometimes roofing professionals must create it or purchase it separately. First fit continuous flashing along the base of the window, then step flashing up the sides, and last saddle flashing would be installed at the top of the window.
Kick-out flashing: Used to bridge the gap between where step flashing ends and the gutter begins. Kick-out flashing directs water away from the wall and into the gutter.

